ROAM Boards
A Foundational Practice for Risk Management
Will McKinley
Matt Napiorkowski
What Is ROAM Boards?
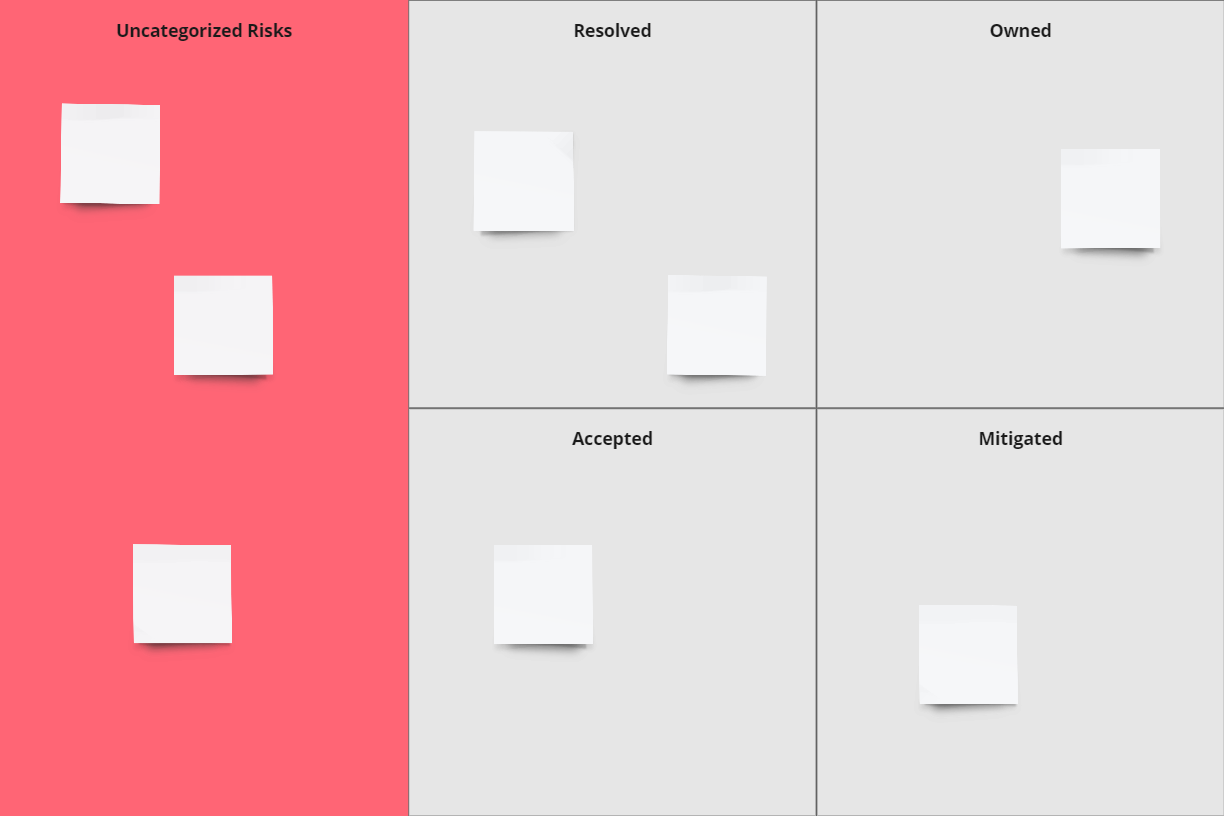
ROAM Boards are a simple visualization for categorizing project or program risks into four categories:
- Resolved
- Owned
- Accepted
- Mitigated
Resolved risks are the goal of this exercise, but it's not the only end state categorization that is useful.
Risks that are Accepted may be too tough to tackle given the current state of the project or given the resources that we have available. It may also be a shortcoming of a technical aspect of the project that will be resolved in the future via an upgrade to a certain product in use.
Mitigated risks are those that we can lessen the effect of by taking some action. Note that categorization of risks as mitigated means that we have already taken that action.
Finally, Owned risks require someone to own them. More on that in How to do ROAM Boards.
Why Do ROAM Boards?
Often when we start projects we are well aware that not everything will go according to plan and we may even have a methodology or process for risk tracking as we go throughout the program. This may be as status meetings, bug reports or simply a tracking page. However, it's often not taken as a collaborative effort with the brainpower of all stakeholders involved.
The impact of ROAM boards is defined through a collaborative effort throughout the lifetime of the program. This encourages those involved to think creatively about how not only to solve or mitigate those problems, but also creates a sense of shared responsibility needed to uncover the hard problems that may end up being roadblocks to program success.
ROAM boards are scalable and can be used for individual teams as well as large programs of work.
How to do ROAM Boards?
This activity should be done at the project kickoff as one of the final activities. It should come after planning as a way to assess the overall plan and make adjustments.
Tools Needed
Begin this practice with an empty whiteboard, lots of sticky notes, pens or markers and a timer.
First Step: Brainwriting
Time: 5-7 minutes
First, explain that we are going to be silent for 5 minutes and write down any risks you see to the plan no matter how insignificant. Once the timer goes off, please bring your stickies to the board.
Second Step: Readouts
The facilitator should read back the cards and ask for clarity. Note that time management is key as you should guard for any discussions that take a deep dive into problem solving. Remind the team that we are not trying to solve these problems, only to clarify what is stated on the card. Use affinity mapping to place related cards together or eliminate duplicates base on the team's feedback.
Third Step: Categorization
Go through each set of affinity mapped cards and ask which category they should land in. At the outset of the project there should not be any cards in the Resolved category.
Owned cards need an owner and this can be a point of contention. Make sure that the team knows that putting your name on the card does not mean you have to solve it, it just means you own the conversation going forward and tracking progress. A single owner is preferred to limit the chance that no one keeps track of the work.
For both the Accepted and Mitigated cards an explanation should be recorded of the reason this risk is being accepted at this time or how it is being mitigated. This should then be transferred to some project board or website that is a visible reminder of the decisions made.
Fourth Step: Revise the Plan
After taking the risks into account, teams may choose to alter their plan to move forward some work for investigation into possible solutions or may choose to remove or delay work that is in the Accepted category.
Lastly, the team should now have a way to keep up with the risks on a weekly or bi-weekly cadence. This could be done during sprint planning or backlog refinement or even during scrum of scrums if the team is large enough.
Look at ROAM Boards
Links we love
Check out these great links which can help you dive a little deeper into running the ROAM Boards practice with your team, customers or stakeholders.
